Anatomy of a Skill
Every skill has four parts:Build It Step by Step
1
Create a new skill
In the web app, go to My Intern → Skills → Create New Skill. The Skill Creator opens a guided chat — describe what you want the skill to do, and it helps you build it step by step, including the name and description. The description is what your intern uses to decide when the skill applies, so be specific.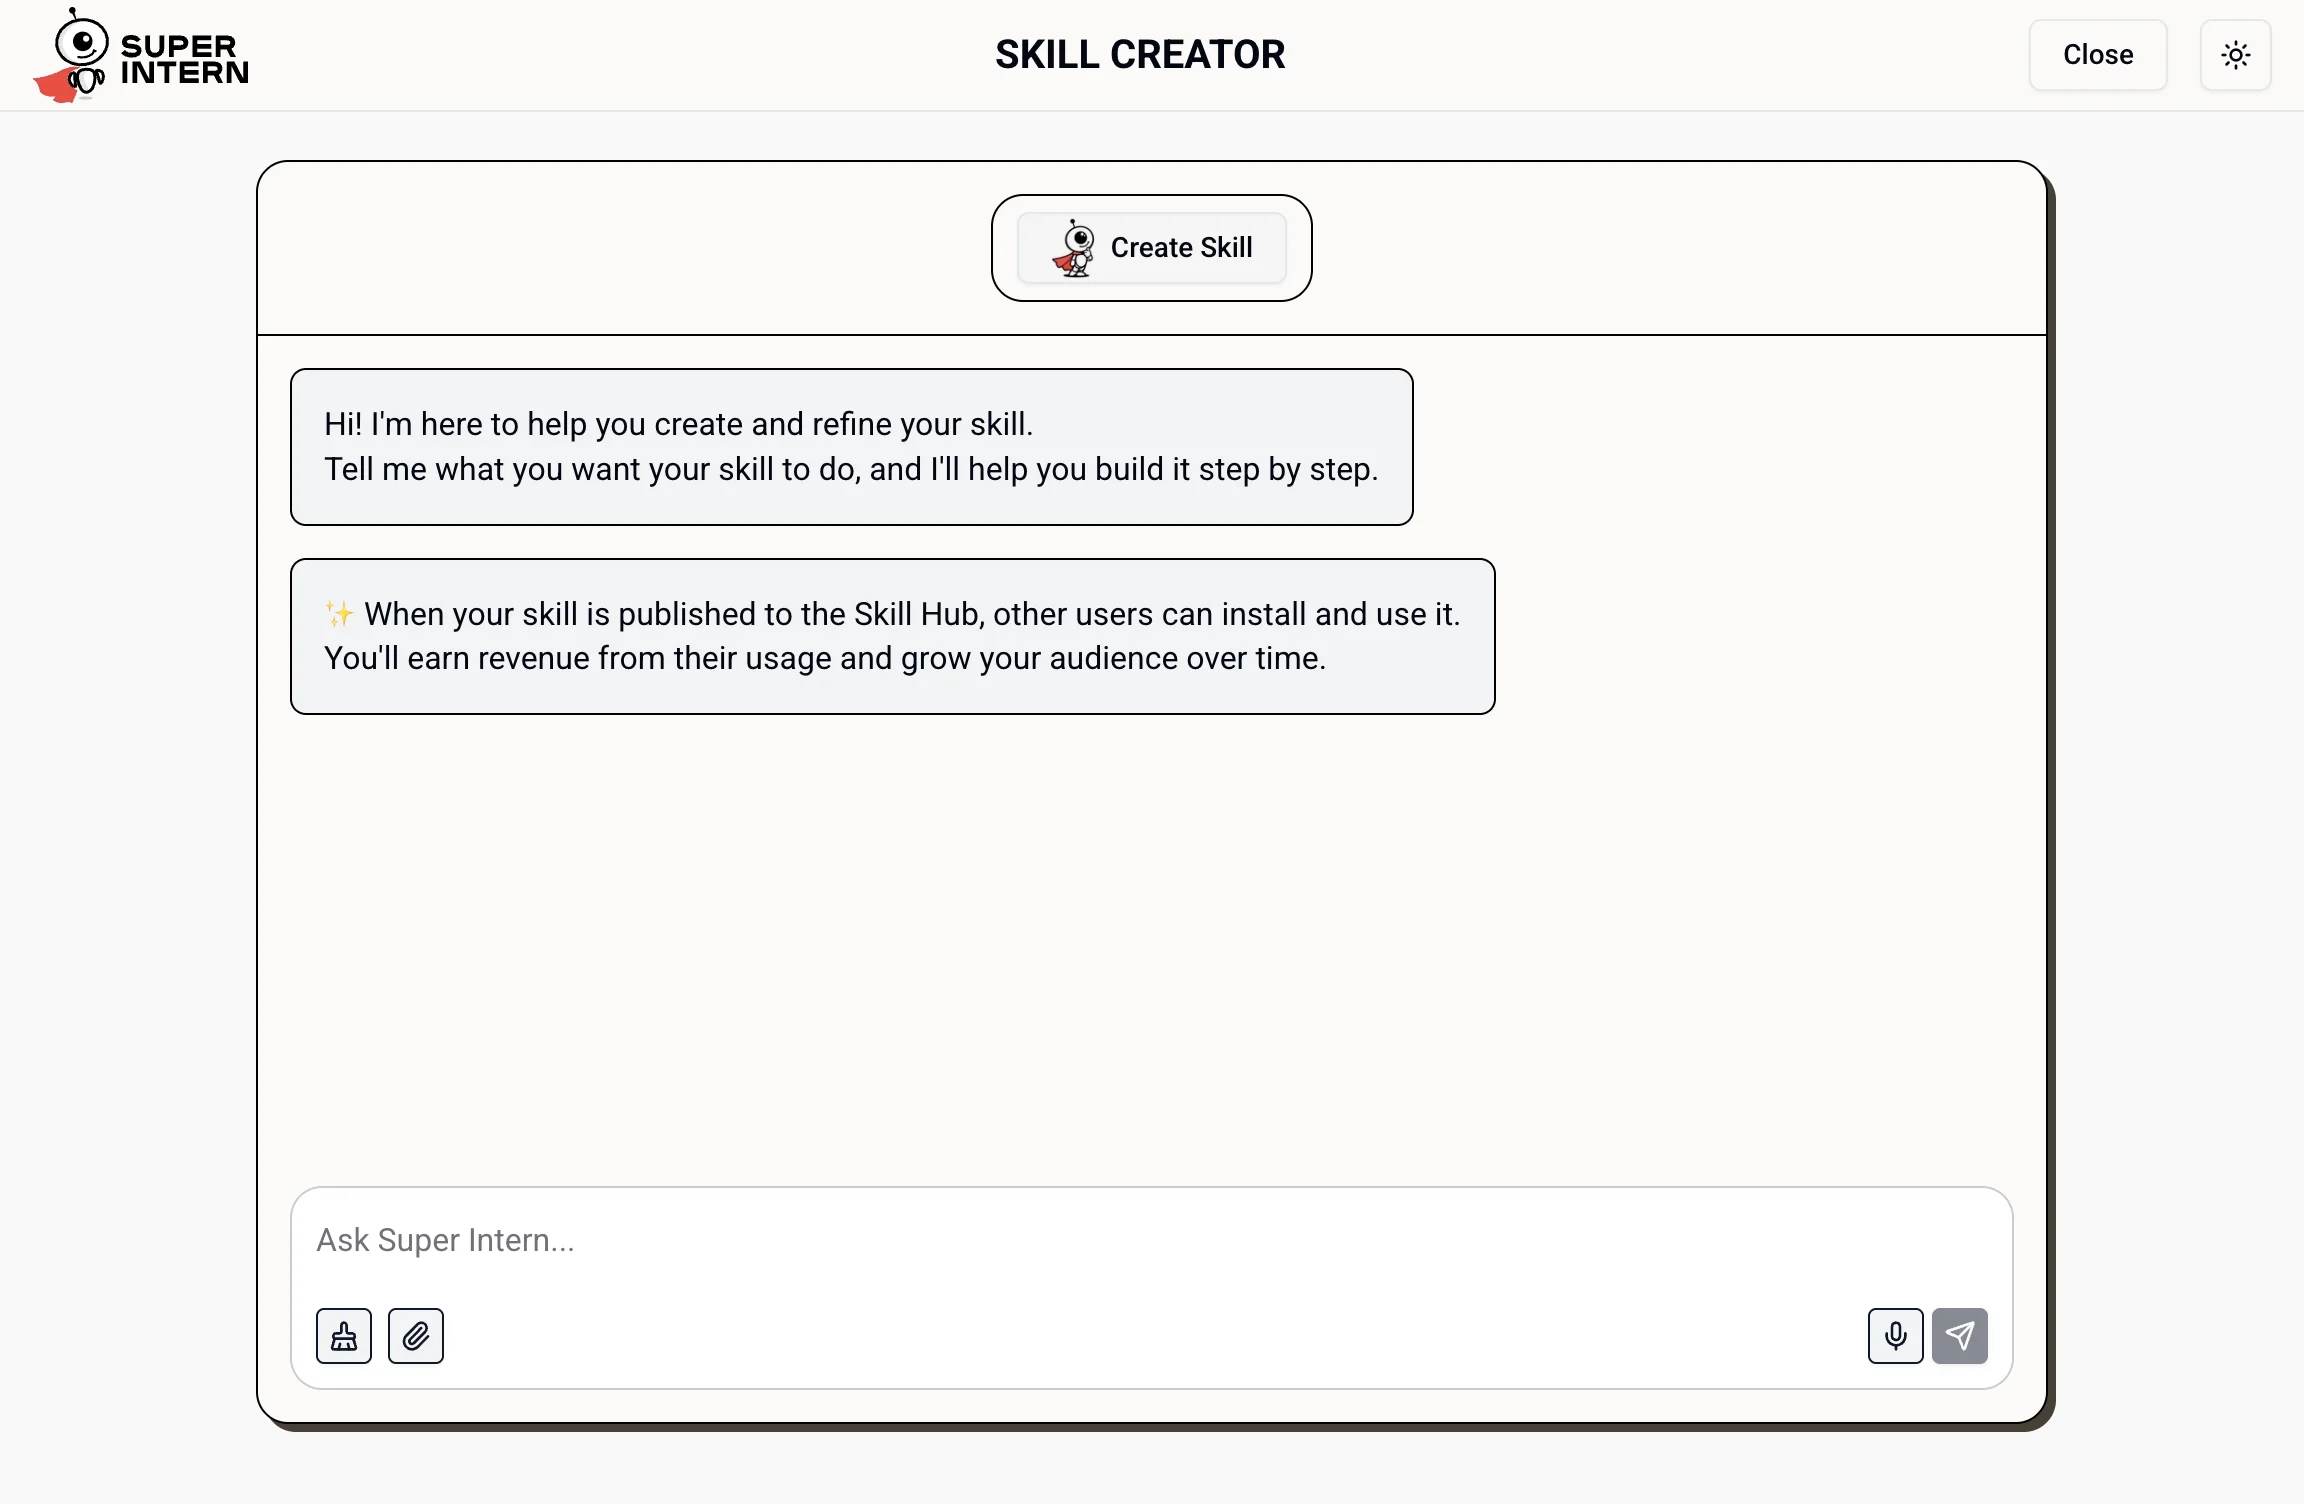
2
Write the instructions
Describe exactly how the skill should behave — its goal, tone, formatting, and any hard rules. Treat it like onboarding a specialist.Example: “Draft LinkedIn posts in a casual first-person voice. Always lead with a hook, keep under 1,300 characters, and end with one question.”
3
Pick its tools
Grant only the integrations the skill needs (for example, the LinkedIn and web search tools). Fewer tools means more predictable behavior.
4
Test it
Use the Test tab to try the skill before relying on it in regular chat. Refine the instructions based on what you get back.
5
Install it to SuperIntern
Use the skill settings to install the skill to your SuperIntern. Once installed, it appears in chat and can be used for scheduled tasks.
6
Share or keep private
Keep the skill private, or submit it for publishing so others can install it from the Skill Hub.
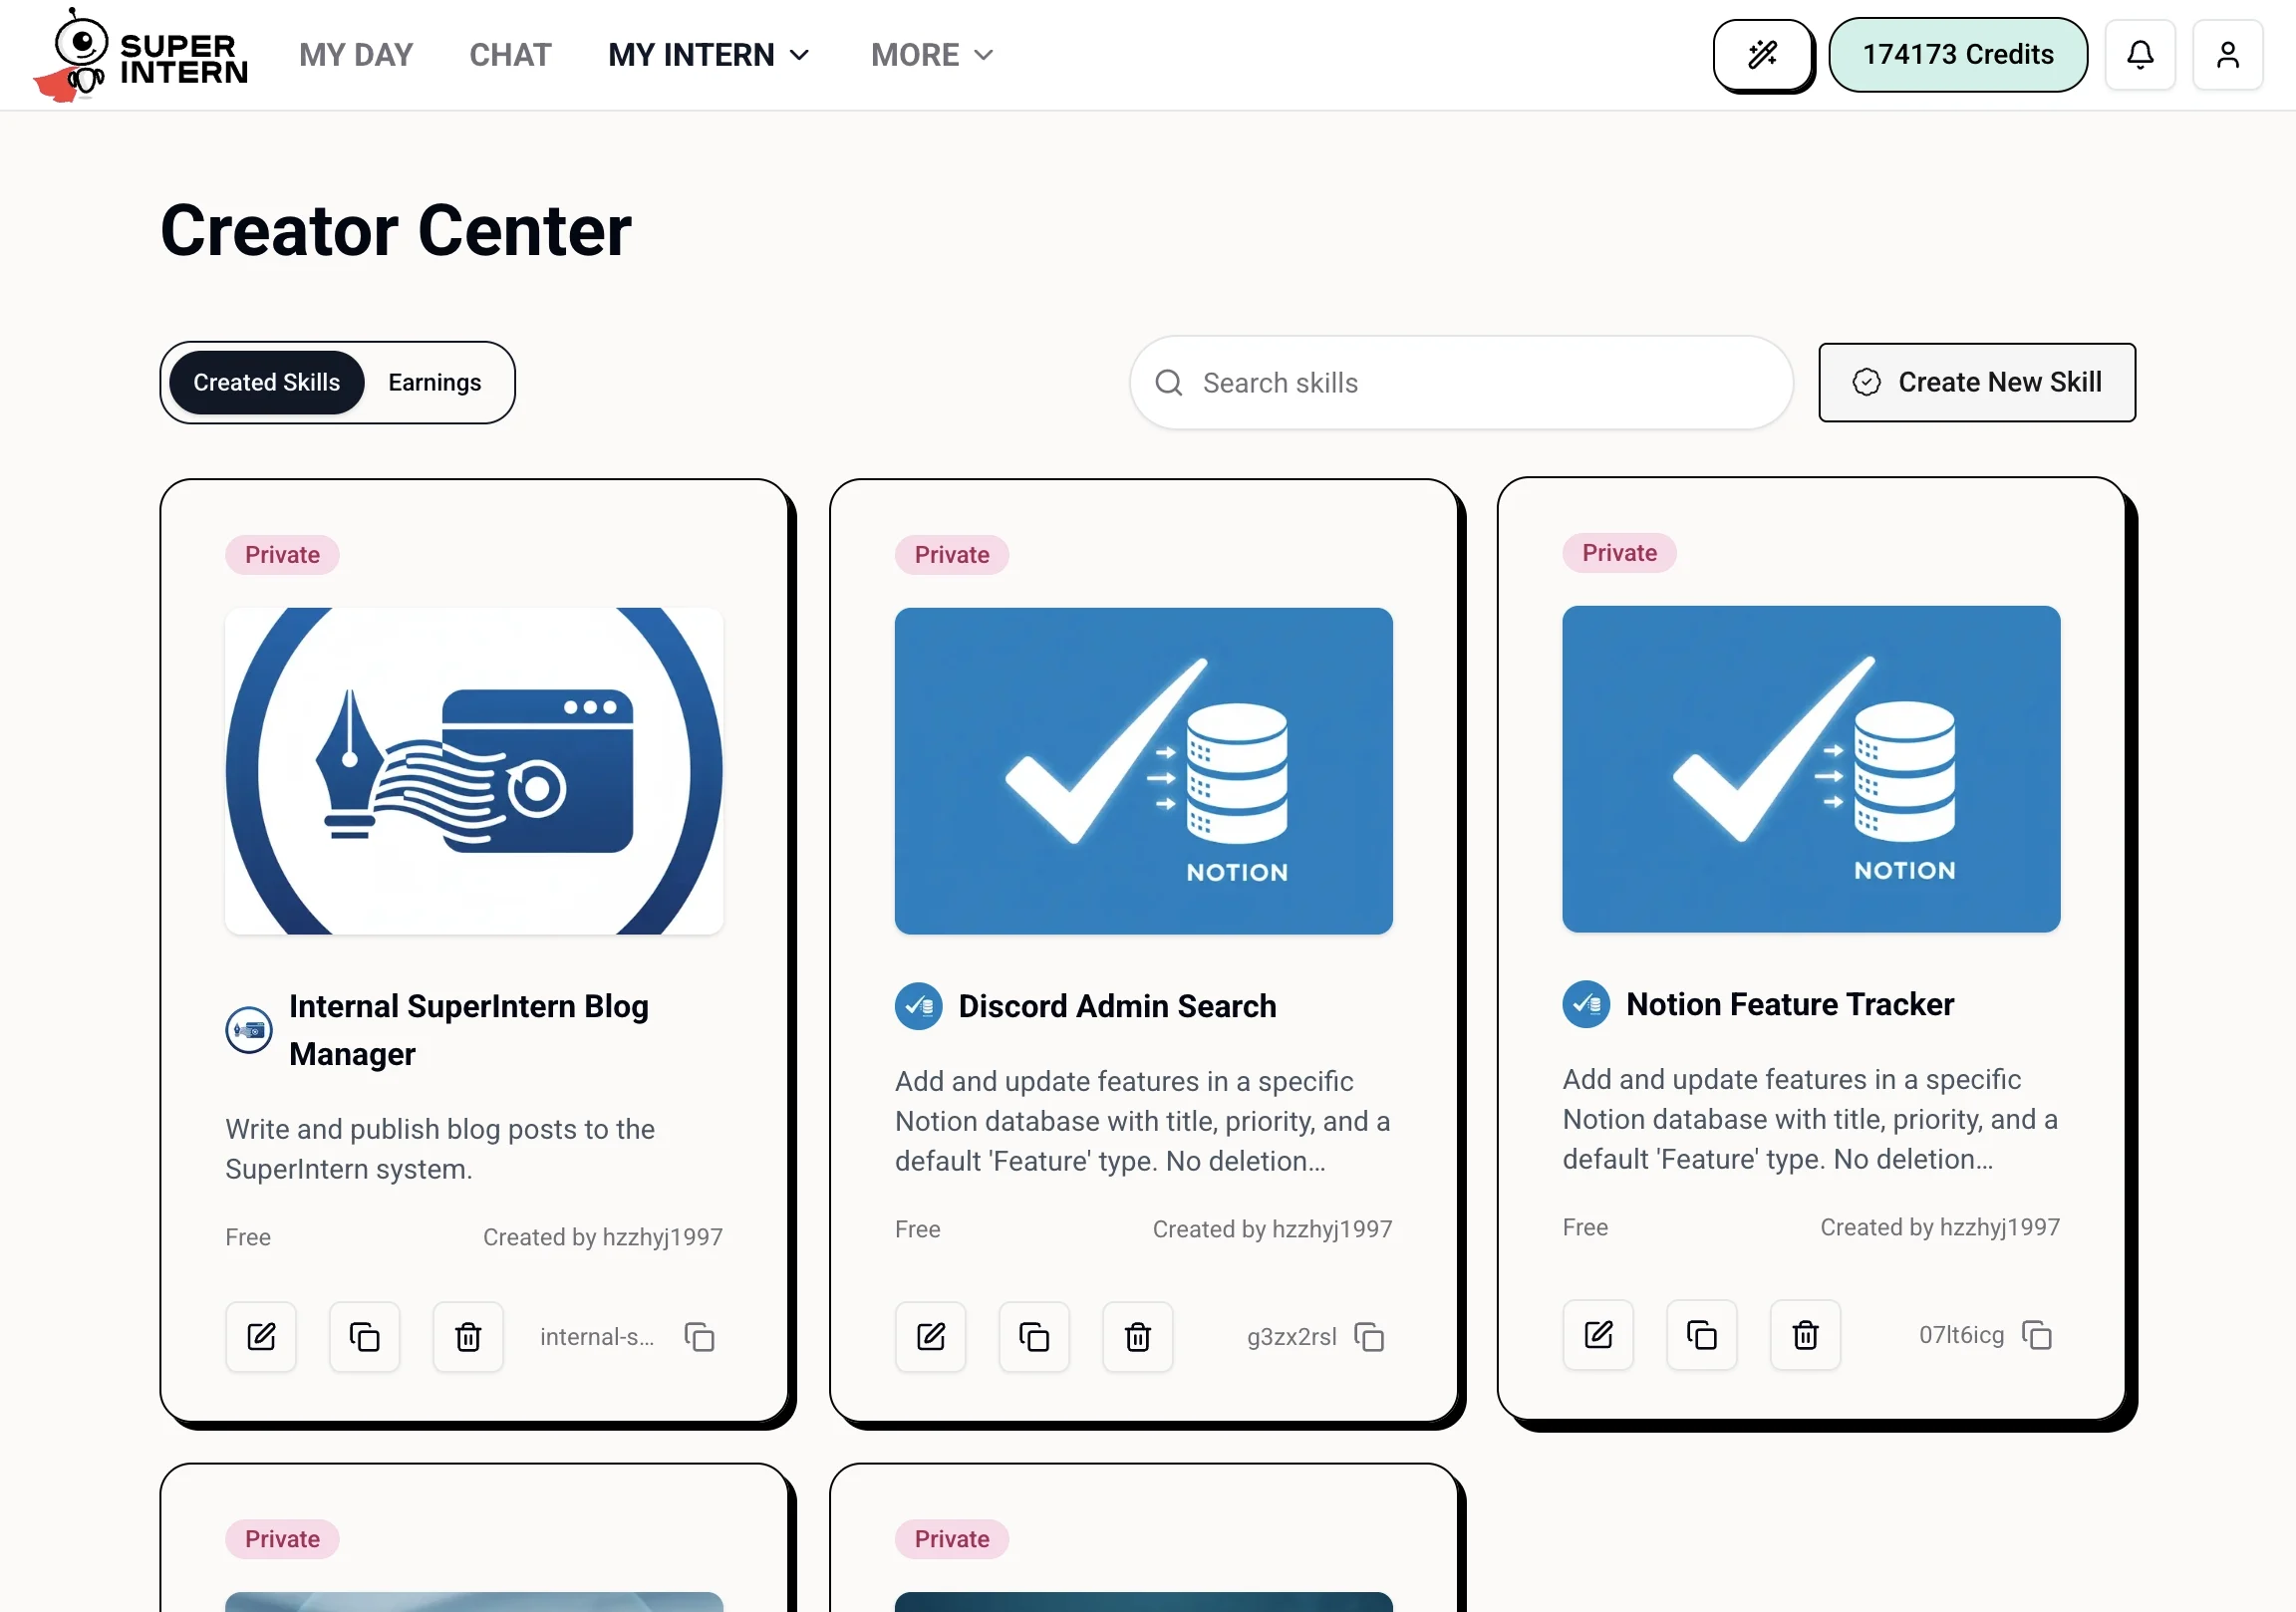
Viewing Your Created Skills
Every skill you’ve built lives in My Intern → Skills → Creator Center. From there you can edit, duplicate, or delete a skill, switch it between private and published, and track earnings from published skills under the Earnings tab.